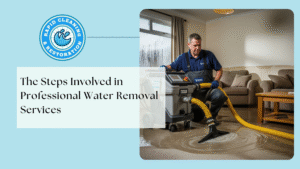
When a home or business is affected by water damage, whether from flooding, burst pipes, or heavy rain, immediate response is crucial. Professional water removal services are designed to quickly extract water, minimize property damage, and prevent mold growth. In this blog, we’ll walk you through the essential steps involved in a typical water removal process so you know what to expect and why hiring professionals is the best route.
Why Prompt Water Removal Matters
Water damage is progressive. What starts as a small leak or puddle can lead to structural damage, ruined flooring, and harmful mold within 24–48 hours. The longer you wait, the more costly the repairs become. That’s why professional services are equipped with high-powered tools and strategic protocols to handle water emergencies efficiently.
Step 1: Emergency Contact and Assessment
The first step in professional water removal is reaching out to a trusted water restoration company. Most operate 24/7 for emergencies. Once contacted, a team is dispatched immediately to your location.
What happens during assessment:
- Determine the source and type of water (clean, gray, or black).
- Assess the extent of the damage to walls, flooring, and belongings.
- Use moisture meters and thermal imaging to detect hidden water.
Step 2: Water Extraction
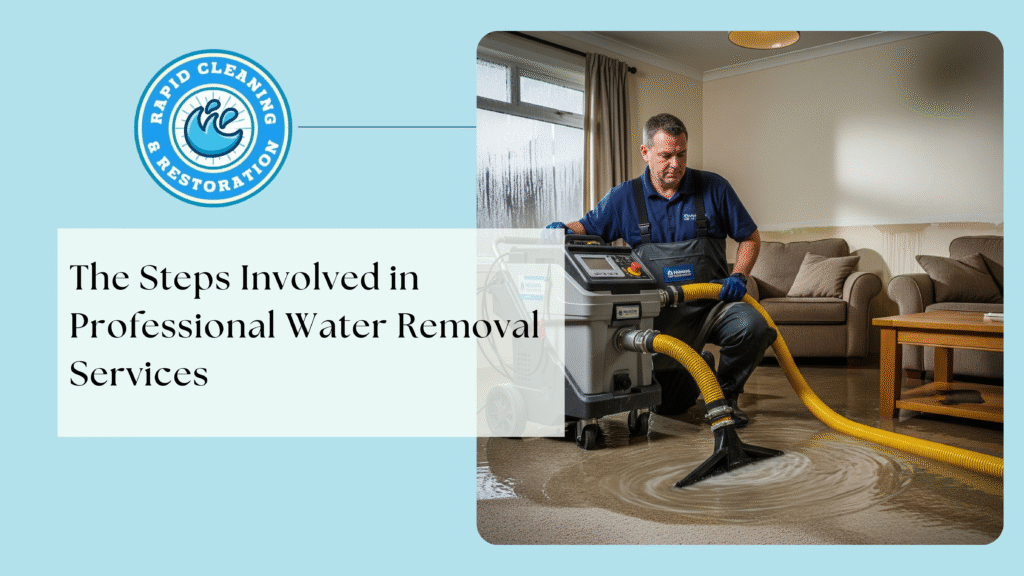
The next step is removing standing water from the property using industrial-grade equipment such as:
- Submersible pumps
- Wet/dry vacuums
- Truck-mounted extraction units
Quick removal prevents water from seeping deeper into building materials like drywall and subflooring.
Step 3: Removal of Unsalvageable Items
Before the drying process begins, technicians will remove damaged materials that cannot be restored, such as:
- Soaked carpet and padding
- Warped wooden furniture
- Drywall or insulation affected by black water
This step helps reduce the risk of mold growth and cross-contamination.
Step 4: Drying and Dehumidification
After extraction, surfaces may look dry but still hold moisture. Professionals use:
- High-speed air movers
- Dehumidifiers
- Monitoring tools
These ensure complete structural drying to avoid hidden mold and mildew issues. Daily moisture checks are performed until humidity levels return to normal.
Step 5: Cleaning and Sanitizing
Once the area is dry, thorough cleaning begins to ensure your home is safe and sanitary. Depending on the source of the water, this may include:
- Antimicrobial treatments
- Odor removal using air scrubbers
- Carpet and upholstery cleaning
For black water (sewage or flood water), deeper disinfection is critical to health safety.
Step 6: Restoration and Repairs
The final step is restoring your home to its pre-damage condition. Restoration may include:
- Replacing drywall or flooring
- Repainting
- Reconstructing damaged rooms
Some companies offer complete restoration services in-house, while others may coordinate with contractors.
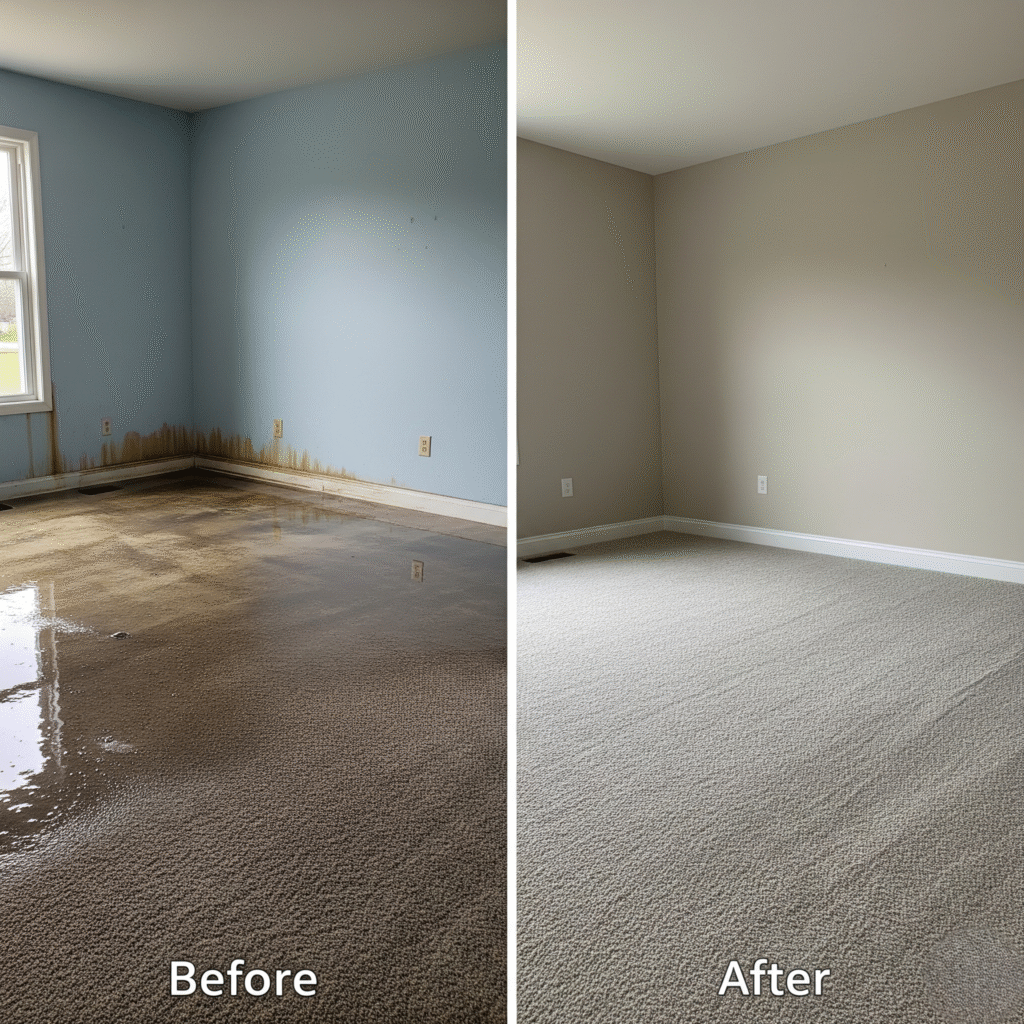
How Long Does Professional Water Removal Take?
While it depends on the extent of the damage, here’s a rough timeline:
- Water extraction: Same day
- Drying and dehumidification: 3–5 days
- Cleaning and restoration: 1–2 weeks
Emergency services often work around the clock to speed up this process.
Why Hire Professionals Instead of DIY?
While small spills can be managed independently, full-scale water damage requires trained professionals. Here’s why:
- Equipment: Industrial tools dry faster than home fans.
- Expertise: Professionals spot hidden damage and mold risks.
- Documentation: Most restoration companies help with insurance claims.
Trying to DIY serious water damage can lead to hidden mold, structural instability, or health hazards.
Final Thoughts
Water damage can be overwhelming, but professional water removal services follow a proven, step-by-step method to restore your space efficiently and safely. Fast action minimizes damage, saves money, and ensures a healthier home environment.
If your home has suffered water damage, don’t delay, contact a certified water damage restoration company today for an inspection.
